Here it is… I’m here to deliver the final word on livestream loudness. Ok, maybe that’s a slight overstatement, but I do want this to dive as deep in to this topic as possible because I think there’s a lot of confusion around it, and I hope this article can clear that confusion up and help us all have better sounding, more consistent livestream mixes.
First things first, let’s get one thing out of the way right now: there is actually no such thing as a “loud” mix.
Wait… what??
Yep, that’s right. Want to know why?
Because we don’t have control over the listener’s volume knob!
It may sound obvious, but the final volume actually isn’t one of the things that we can control. That’s all up to the listener and their sound system. We can send them a mix with high signal levels, or low signal levels, or a mix with a lot of dynamics or a mix with little/no dynamics.
But volume? That’s on the listener!
So what can we actually control? Quite a few things actually, and they will have an impact on how the listener perceives our mix.
Often when we’re struggling with a mix that’s not “loud” enough, we’re generally struggling with mixes that simply don’t have a high enough signal level. Now of course, not all sections of our mix are going to be the same signal level. There might be a more upbeat loud song at the beginning of the service, and then a quieter song later on. We don’t need to make those to songs have the same signal level, but we do need to make sure that the average levels are comparable to what people are used to listening to. Even within a single song, there will be soft parts and loud parts (the difference between those soft and sound parts is called “dynamic range”, but more on that in a minute). For now, just remember that there will be differences in dynamics (aka loud parts and soft parts), but our goal is to provide some consistency and standards that will help our mixes translate will across all listening systems.
The thing we’ll be focusing on here is getting our mix to have a higher average signal level.
So what’s the first step? Well… having a good mix! A well balanced mix that sounds good is the foundation that we’ll be building the rest of our signal chain on.
If you need some help getting great mixes, we have a course called Sound Guy Essentials that will really help: click here to check out that course.
Once we’ve got a mix that we’re happy with, it’s time to make it broadcast ready!
Now, we’ll be living in the world of digital audio for this discussion, since the audio that we’ll be streaming over the internet is in a digital format, not an analog format. That means we need to examine the level of our signal with a digital metering system.
Maybe you’ve seen an analog meter like a VU meter on an analog console.
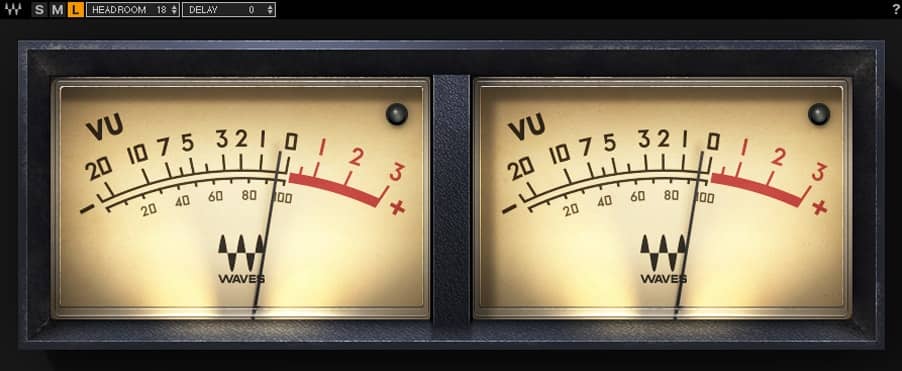
That’s not what we need here. We need a digital meter that can tell us the level of digital audio. Digital audio is usually measured in something called “full scale”. Full scale is just a way of talking about the maximum level that is physically possible for digital audio. You’ve probably seen this sort of meter before (any digital mixing console has meters that measure in full scale, as do a lot of metering plugins and software).
Here’s an example of a dedicated digital meter called PAZ Analyzer from Waves.
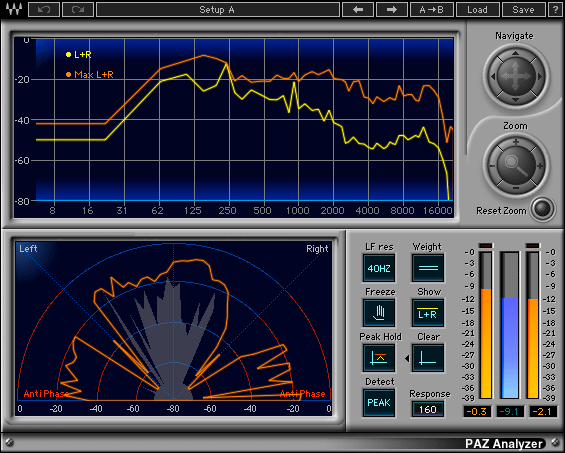
Please note, you don’t NEED a dedicated plugin like PAZ Analyzer to measure dBFS. Most of the time, the output meter on your digital mixing board will be just fine.
At the very top of the full scale meter will be “0 dBFS” (dBFS is short for “decibels relative to full scale”) and that’s a VERY important thing for us. If we go above 0 dBFS, we will encounter digital clipping. And friends…digital clipping is the devil. Ok maybe not literally, but it’s something we want to avoid at all costs. If you’ve heard a livestream with clicks or popping sounds or distortion when the music or speaking gets loud… that’s probably digital clipping.
Digital clipping (by going over 0 dBFS) will result basically in the audio wave being distorted. It’s not a good sound, and we want to make sure that we never enter in to digital clipping as we try to maximize our livestream signal level.
So that’s the first thing we want to be looking at on our meter: simply checking to make sure our mix isn’t having TOO hot of signal levels that are going over 0 dBFS and entering in to digital clipping. To keep it real simple, if the little red light at the top of your meter is lighting up, we’ve got some work to do!
Next up, we’re going to need some sort of loudness meter. There are a LOT of different ways to measure loudness, but I generally like any of them as long as they can measure in LUFS. LUFS is short for Loudness Units Full Scale. It’s a little like decibels, but it’s specifically made for digital audio and measuring our LUFS level is going to be great for dialing in our volume.
My two favorite meters are the Waves WLM plugin, and the TC Electronic Clarity M loudness meter. Both of those work great, have awesome functionality, and aren’t crazy expensive.

If you’re interested in purchasing the Waves Loudness Meter, you can click right here to save 10% on all your Waves Plugin purchases!
So we’ll look at our LUFS measurement with one of those tools and… then what? How many LUFS should we be registering for a good mix? Well… that’s a complicated question.
Here’s the reality: there’s not an absolute right answer for what LUFS level you should aim for.
Some people will tell you that it’s -14 LUFS or -16 LUFS or… some other number, and there are some reasons why those might be good numbers to shoot for, but here’s the reality: measuring in LUFS, like any measurement, is just a tool not a formula. It’s not “If I maintain an average volume of -14 LUFS my mix will sound good on all systems”. As always, we need to use our ears!
Let’s come back to LUFS in a minute though. First, we need to talk about how to increase our signal level: by using a Limiter
A limiter is a tool that will raise the level of an audio signal, but it won’t ever let it go over a maximum level that you specify.
That maximum level is often called the “Output Ceiling”. When you set it, you’re basically saying “the signal can go this loud, but not any louder”. As you may have already guessed, this tool is what’s going to keep our signal from going over that 0dBFS clipping threshold that we talked about earlier. Most limiters will default to having their output ceiling AT 0dBFS… but I don’t like that. I like to leave just a little more headroom just in case something later in the signal chain (like in the video system) adds a little bit of gain. For that reason, I’ll set my output ceiling at -1.0 or -0.5 dBFS just to be safe and give myself a dB of headroom to be safe.
The other control on the limiter will be a gain knob. This is where we get our volume from. We’ll be turning up the input gain to increase the level. Essentially, the whole job of the limiter is to turn up the level of the signal, but then limit the output so that the additional level doesn’t cause clipping by going over 0 dBFS.
Is your brain exploding yet?? Almost? Ok, that’s totally fine, there’s a lot of complicated stuff going on!
To recap: we need to check our levels with a digital meter to make sure we’re not clipping, then we need to use a meter that measures in LUFS to judge our overall loudness, then we’ll use a limiter to increase to a standard that we think is good.
But… back to those LUFS for a minute… what is a level that’s good?
Like we talked about, there is no hard and fast rule. You have to use your ears. If your limiter is having to do a ton of gain reduction and is squashing your mix just to get the LUFS level that you’ve decided on…well that’s not good. On the other hand, if you want to have a mix with less dynamics because that’s the sound you’re going for, then that’s fine.
Like I mentioned before, you’ll hear the number -14 LUFS thrown around a lot as a number to aim for. That’s because a lot of major streaming services use a process called “Normalization” to adjust the levels of streams to -14 LUFS. On YouTube for example, their normalizing to -14 LUFS so that one video doesn’t play back with drastically louder levels than another video.
HOWEVER….and this is a massive “however”….
When you analyze a lot of videos with music on YouTube, it turns out that average levels are all over the place. Pop music? It can be as sound as -8 to -6 LUFS. EDM can be even louder. I saw a few songs that were registering as hot as -4 LUFS. Even a lot of worship/contemporary Christian mixes have levels in the -10 to -6 range.
So what does that tell us?
It tells us that we should mix at levels that are appropriate and comparable to other mixes that we like. It’s really as simple as that. Play back some mixes on YouTube or Facebook or Church Online Platform that you think sound really good… and then see how yours compares!
Ask yourself as you listen: are you having to turn your computer/phone/car/speaker/whatever volume up or down when listening to those mixes compared to your own? If so, try adjusting your limiter until the levels on your mix are close. Now, how does your mix sound when you’ve done that? Is it sounding squashed by too much limiting? Or maybe it sounds really great!
When you’ve got it sounding good and sounding similar in volume to other streams that you like… check your LUFS meter and see what your meter tells you. Take note of the number that it says, and then in the future, you can compare your mixes and know that you’re pretty close to that loudness level that you thought sounded good.
Alright, I think that’s enough technical brain-melting for one day. If you have any questions on how to get your streaming mix sounding great, please reach out to us on social media or through our contact page and we’d love to chat with you!